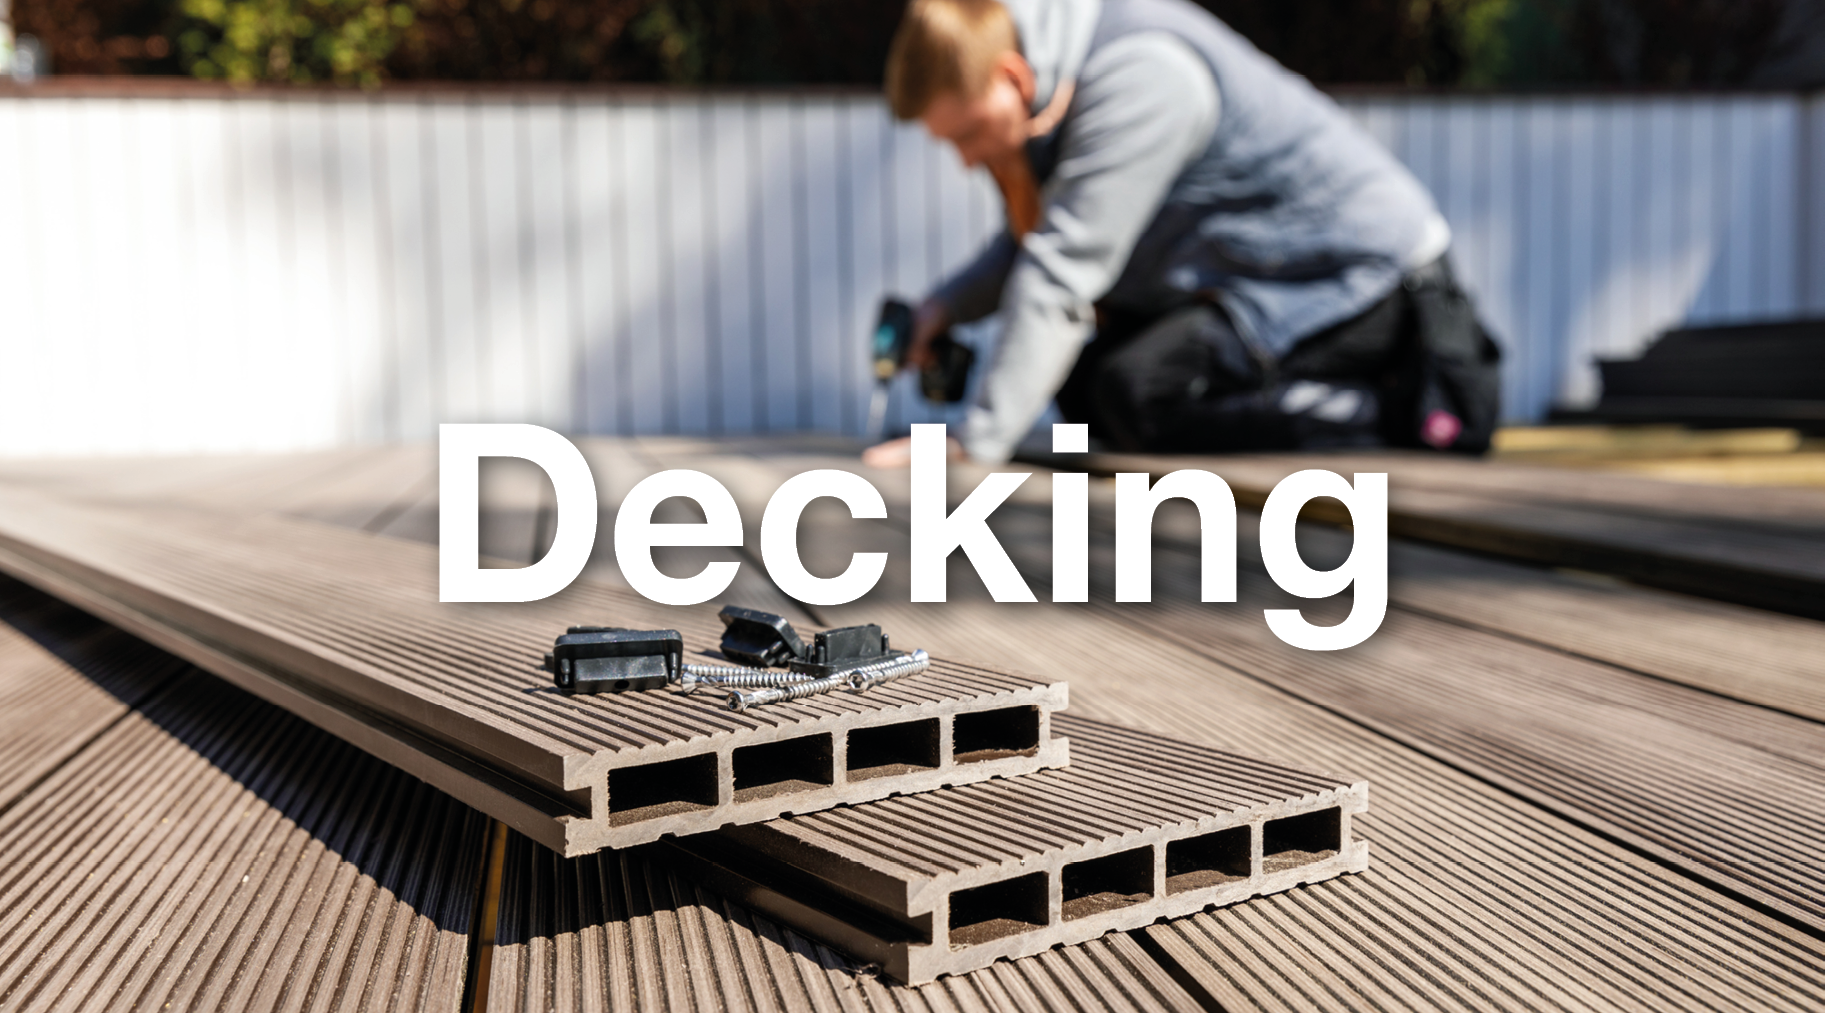
HOW TO INSTALL COMPOSITE DECKING
Composite decking is made from a combination of hardwood and recycled plastics, engineered to reach high durability and outstanding aesthetics. They are developed for modern applications, being long-lasting with an attractive finish.
Key features
Composite decking differs from traditional decking not only in composition but also in durability.
Some of the key features of composite decking are:
- Low maintenance - does not require treatment or staining.
- Strong & durable - engineered to enhance durability.
- Safe & non-slip - slip resistance in wet and dry conditions.
- Attractive - retains the look and feel of timber with an enhanced aesthetic.
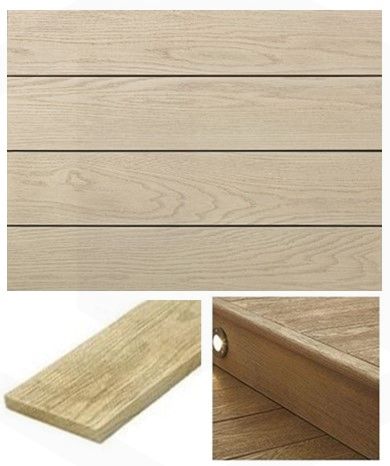
Types of composite decking
Composite decking comes in a variety of models, depending on style, colour, and built. They come as reversable decks with versatile finishes or you can find superior boards with 360-degree cover that enhances durability.
Advantages
Investing in composite decking comes with several advantages:
- It is easy to install with a fastener system explained step-by-step below.
- Composite decking is usually manufactured from recycled sources, being an eco-friendly alternative to traditional decking.
- It provides a natural wood look without compromising quality and durability.
- Composite decking has a longer life expectancy, hence lower life cycle costs.
HOW TO INSTALL IT
Composite decking is installed with a hidden fastener system which creates a neat finish, safe for barefoot walking. The installation instructions below are for DDecks, which provides a quality and elegant range of composite decking.
Before starting the installation process, it is advised to wait 48 hours for the decking boards to acclimatise.
Tools required
1. Preparation
Before laying down the joists, make sure the ground is flat and even. If you install the decking next to walls or fences, you should start laying the joists no more than 20mm apart from the fixed objects and with approximately 350mm between the joists.
Fix the starter clips onto each joist end and make sure each screw is securely fastened.
It is important to incorporate a slope of 5mm to ensure drainage and prevent water pooling.
2. Board installation
After the starter clips are in place, slide the first board into the starter clips and click into place. Once the first decking board is in position, fit the special clip B in the middle section of the decking. The toothed side should go into the groove and then screwed through the side hole to secure.
Clip A is applied central to each joist with the toothed side pushed into the groove. Do not share a clip across two boards. Clip A is to be used 1 per board end.
Slightly lift the next decking board at an angle to easily slide it into the clicks and into position. Screw through the top holes of the clips to fix the decking. The decking boards should be fixed with no less than 5mm gaps between them to allow for expansion.
Repeat until the decking installation is complete.
3. Final step
Complete the job by screwing the fascia boards into their position.
MAINTENANCE
Composite decking is a low-maintenance product, but periodic cleaning is recommended to prevent debris build up. This can be done with water, soap, and a stiff brush.
Oil and grease stains can be scrubbed out with a household degreasing agent. It is recommended to do so as the stains occur.
Fit any patio furniture with rubber or felt feet to prevent scratches or scrapes.
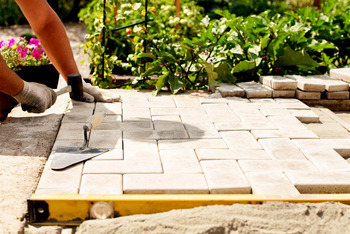
NEED HELP?
Check our full product range for decking and get the tools you need to install decking. If you are looking to complete a full landscaping project in your outdoor space, book an appointment with Lords’ landscaping designer and get professional advice on design and cost estimates.