CAN I LAY PAVING SLABS ON SOIL?
The short answer is yes, you can. But there are a few things you need to consider and prepare before starting the job. We’ve put together a guide on paving slabs: where can you lay paving slabs, how do you need to prepare the ground, as well as practical advice on installation.
Whether you’re new in the trade or have just challenged yourself to a DIY project, this guide gives you the tips you need to lay paving slabs properly.
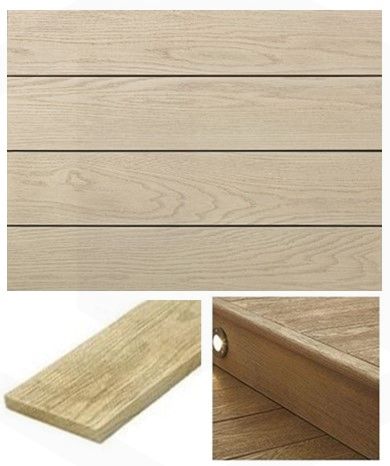
Before getting to work you will need to select the paving slabs that fit with the landscape design of the outdoor area. There is a wide variety of options, to match the size, texture, or colour you prefer. You can also check how the paving slabs look like once installed at a local patio display.
HOW TO LAY PAVING SLABS
The installation process involves four main steps, each covered in detail below.
1. Planning and preparation
Once you have decided on the design, it would be best to craft a plan of the designated area that includes the pattern of the patio and the measurements.
Before you start laying paving slabs, you should prepare the area accordingly:
- If you are starting from scratch, use your plan to mark out the area where you want to lay the paving slabs.
- If you are replacing old slabs, you need to dig them up first.
After the area is cleared out and marked, start to dig it at a depth of approximately 15cm. Make sure the soil is level and properly compacted.
2. Laying the sub-base and preparing the bedding
After the first preparation stage is finished, cover the installation area with sub-base material. This layer also needs to be levelled and compacted to ensure the patio will be flat and even.
When the sub-base is ready, a mortar bedding needs to be laid over which acts as a land stabiliser and can hinder weed growth. This should consist of 5 parts sand to 1 part cement and be a 5cm layer on top of the sub-base.
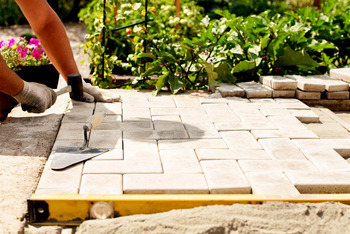
3. Laying the paving slabs
Lay the first paving slab in a corner perfectly aligned with the marks previously made. This first paving slab will serve as a guide for the rest of the slabs.
Use a spirit level to make sure it is levelled properly and tap the slab into the mortar with a rubber mallet. From the first slab, continue laying the paving slabs in the direction of the slope.
Spacers can be used between the slabs to create even gaps for a neat pattern.
4. Final step
It is important to not step or lay anything on the patio for at least 24 hours after installing the paving slabs. This gives time for the mortar mixture to dry and the slabs to fix on the ground.
The final step is to fill in the gaps with jointing material. You can use dry sand or patio grout for this. Once they are filled in, make sure they are smooth, and any excess material is wiped clean.
AFTER CARE
Paving slabs are easy to maintain, so regular brushing and washing will keep them in top condition, preventing algae build-up.
Over time, gaps might appear in the joints. It’s important to fill these up as they can affect the stability of the patio.
NEED HELP?
Check our full product range for paving and get the tools you need to lay paving slabs. If you are looking to complete a full landscaping project in your outdoor space, book an appointment with Lords’ landscaping designer and get professional advice on design and cost estimates.