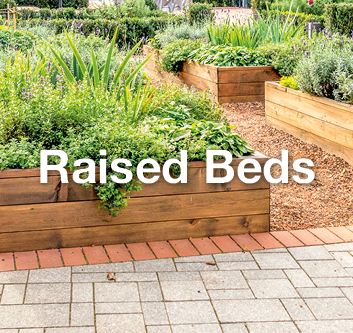
Take your gardening game to the next level with timber raised beds! These DIY garden structures are the perfect solution to organize and maximize garden space.
In this guide, we'll walk you through the process of building timber raised beds, complete with essential tips for maintenance.
Why Choose Timber for Raised Beds?
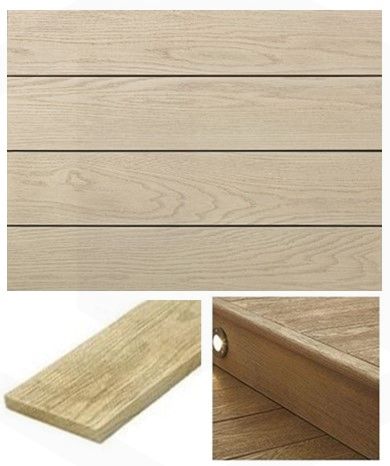
Timber is a popular choice for raised bed construction due to its durability, natural appeal, and ease of working with. Opting for quality timber, such as cedar or redwood, ensures your raised beds will withstand the test of time, even in varying weather conditions. Treated timber is viable budget-friendly option that has a longer lifecycle compared to non-treated timber as it is protected from structural degradation.
Step-by-Step Guide to Building Timber Raised Beds:
Step 1: Plan for Success
Before grabbing your tools, take the time to plan your raised bed project. Measure the area you wish to have them placed and determine the dimensions of your beds, so you get the most of your gardening space. Wider beds allow for more planting options and are easier to maintain.
Step 2: Cutting and Preparing the Timber
Gather your tools, including a saw and a measuring tape. Cut the timber into equal lengths based on your measurements. For a neat finish, consider using screws instead of nails to join the corners. Use a level to ensure the raised bed is straight to prevent water from accumulating in one area.
Step 3: Assemble and Sturdiness
Lay out the cut timber pieces in the desired shape and join them securely at the corners. The sturdier the construction, the more weight it can bear, so you can experiment with various crops. Timber raised beds offer both functionality and aesthetic appeal, giving your garden a polished look.
Step 4: Weed Control for an Uncompromised Harvest
Before filling the raised bed with soil, take precautions for unwanted weeds that can hinder plant growth. One efficient way to do so, is to line the bottom with landscape fabric or cardboard, creating a barrier against weeds without preventing proper drainage.
Step 5: The Perfect Blend of Soil
The final step is to fill the raised beds with the right soil mix, so your plants grow in the best environment. Fill your raised bed with a combination of nutrient-rich compost and quality garden soil. This mixture ensures your plants have the nourishment they need for healthy growth.
Maintaining Your Timber Raised Beds
Once you’ve built your timber raised beds, the next step is to ensure proper maintenance to prevent structural decay.
1. Apply Wood Sealant
Coat the interior and exterior surfaces of the timber with a high-quality wood sealant, such as Evo-Stik Waterproof Wood Adhesive. The sealant acts as a protective barrier against moisture, preventing water from seeping into the wood and causing decay.
2. Elevate the Bed
To minimize direct contact with the ground, elevate your raised beds on sturdy legs or corner posts. This elevation helps reduce exposure to moisture and ground-dwelling pests that might contaminate the soil.
3. Use a Liner
Line the interior of the raised bed with a waterproof membrane, such as a heavy-duty pond liner or plastic sheeting. This liner prevents soil and water from directly contacting the timber, reducing the risk of decay.
4. Install Drainage
Ensure proper drainage by creating small gaps between the timber boards or drilling drainage holes at the bottom of the raised bed. Good drainage helps prevent water from pooling inside the bed, which can cause rotting.
5. Regular Maintenance
Inspect your raised beds periodically for signs of decay or damage. Promptly replace any rotted or damaged timber to extend the lifespan of your raised beds and enjoy a thriving garden for years to come.
You're now equipped with the knowledge and skills to construct and maintain your timber raised beds. Whether you're a seasoned landscaper or a novice DIYer, timber raised beds are a fantastic addition to any garden.