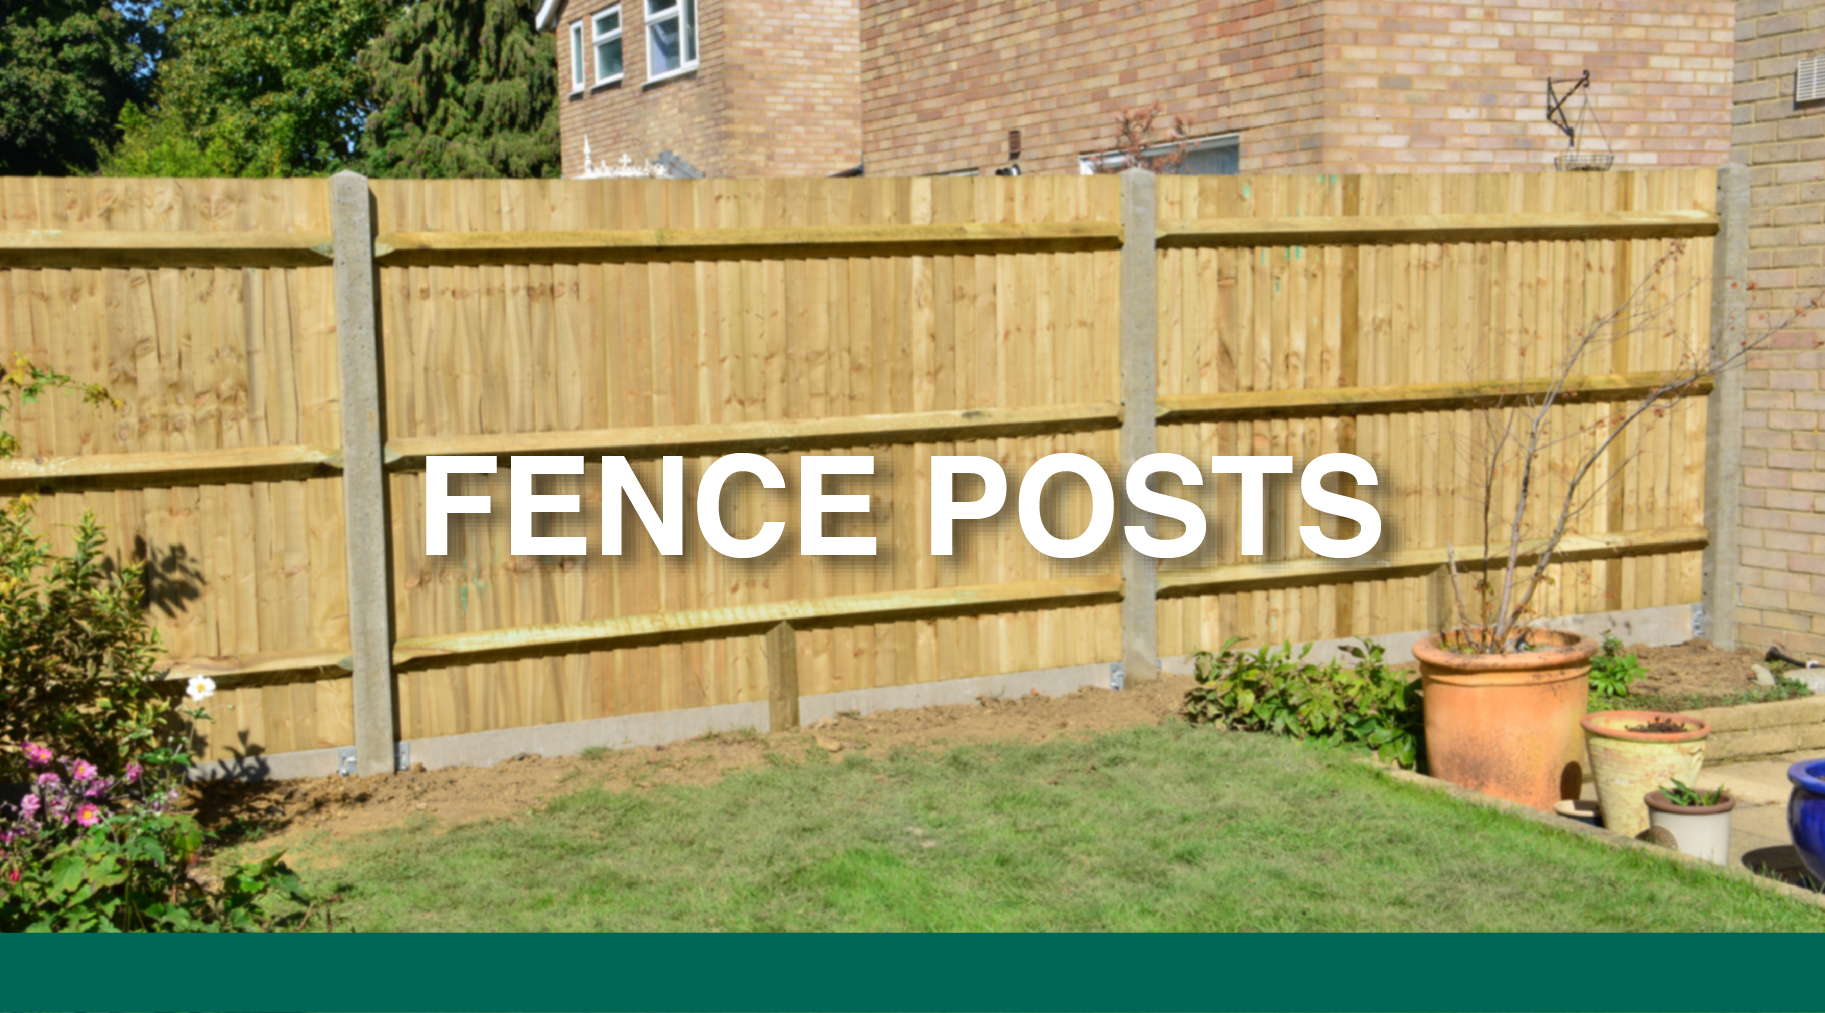
A short guide on fence posts covering everything from the basics of installation to protection and removal.
If you are about to install your own fence posts, there are a couple of things that you should keep in mind for a successful job.
First of all, it is recommended to check if there are any electric mains or pipes running underneath the area where you want to install the fence posts. Serious damage can be prevented by using free online services, such as LinesearchbeforeUdig, that can help you with this step.
Secondly, don’t underestimate how deep your fence post should go. When choosing your fence posts, keep in mind 1/3 of the length needs to be underground so that the posts have enough leverage to withstand wind or even just gravity.
Lastly, decide on which type of fence posts do you want to install. There are two main types you can decide from, concrete fence posts or wooden fence posts, each with their own advantages.
HOW TO INSTALL THE FENCE POST
Before you install the fence post, make sure you have the right tools for the job:
Measure and mark the area
Before you start digging, measure the area where you want to install the fence using a string line to mark a straight line for the holes. You can also use a flagpole line up to determine where the holes need to be dug and make sure they are at the right distance apart.
How Deep to Dig Your Fence Posts
As mentioned above, it’s a good rule of thumb to ensure that a third of the fence post height it’s underground. If you’re installing a 6ft high fence post, 2ft should be buried underground. Also, make sure you allow room for 6 inches of gravel at the bottom of the hole to add support for the post and aid drainage. When it comes to the width of the hole, it should cover three times the width of the fence post.
You can always use a small spade to dig your fence post hole. However, a post hole digger will save you time and effort, as it is specifically designed for the job.
To make things even more efficient, you can dig a part hole and pour water to weaken the soil before starting.
Installing the fence post
1. Place the post in the hole.
2. Use a spirit level to make sure it is vertically level.
3. Pour in fresh concrete until it is just above ground level.
4. Hold the post in place for a few minutes until it starts to set.
5. Before moving forward, make sure all cement has hardened and that the posts are sturdy enough to support a load.
6. After the concrete has fully hardened, you can cover the remaining part of the hole with the ground originally dug out.
HOW TO PROTECT YOUR FENCE FROM ROTTING
One of the best ways to protect your fence is to make sure that the wood is treated. You can seal the wood by coating each panel and post with wood preservers. This helps to protect it against water damage, mould, moss, and fungi. Always keep the bottom of your fence clear of leaves, grass, or plants as when vegetation rots it can spread through the fence through tiny cracks and cause serious damage.
HOW TO REMOVE A FENCE POST
If you need to remove an old fence before installing your new one, there a few simple steps to follow, but consider putting time aside for this as it requires extra effort.
- Dig around the post to remove the soil about 1 foot in depth. This will reduce the ground resistance.
- Push the post from side to side to loosen the ground around it.
- Use a hard timber joist for more force. Attach the joist at a 45° angle to the ground, stand on its end, and push your body weight downwards until the post is loosened from the ground.
- Once the post is loosened enough, the joist can be detached, and the post removed from its hole.
NEED HELP?
Check our full product range for fencing and get the tools you need to install your own fence post. If you are looking to complete a full landscaping project in your outdoor space, book an appointment with Lords’ landscaping designer and get professional advice on design and cost estimates.