How to Prepare Your Walls for Painting

1. Clear the Space: Start with a Blank Slate
Before diving into the technical aspects of wall preparation for painting, begin by clearing the room as much as possible. Move furniture to the centre and cover it with drop cloths to protect it from dust and splatter. Remove any wall decor, switch plates, and outlet covers to ensure a smooth and even application.
2. Repair Wall Imperfections: Patch and Smooth the Surface
Inspect your walls for any imperfections such as cracks, holes, or dents. Use a spackling compound to fill in small holes and cracks, and a joint compound for larger imperfections. Once dry, sand the patched areas until they are smooth and flush with the surrounding wall. This step is crucial for achieving a flawless finish in your final paint job.
3. Clean the Walls: Banish Dust and Grease
Walls accumulate dust, dirt, and even grease over time. To ensure proper adhesion of the paint, wash the walls with a mild detergent or a wall-cleaning solution. Pay special attention to high-traffic areas and kitchen walls, where grease buildup may occur. Rinse the walls thoroughly and allow them to dry completely before moving on to the next step.
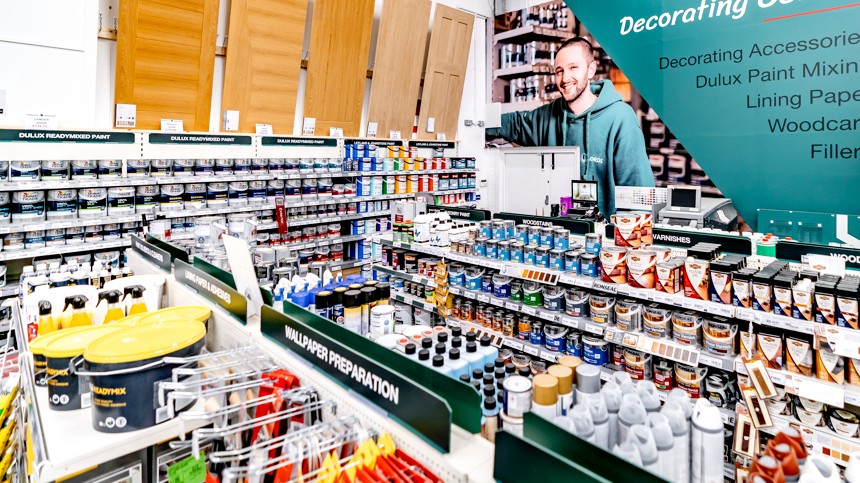
4. Remove Wallpaper: A Fresh Start
If your walls are adorned with wallpaper, consider removing it for a clean slate. Use a wallpaper steamer or a wallpaper removal solution to loosen the adhesive, making it easier to peel away the wallpaper. Once removed, wash the walls to eliminate any remaining adhesive residue and allow them to dry thoroughly.
5. Sand the Walls: Smooth Out the Surface
Sanding is a crucial step to achieve a smooth and even finish. Use fine-grit sandpaper to lightly sand the walls, focusing on areas where patches were applied and edges where different surfaces meet. Sanding not only smoothens the surface but also promotes better paint adhesion.
6. Apply Primer: Enhance Adhesion and Coverage
Priming is often overlooked but is a step that can significantly improve the result. Apply a coat of high-quality primer to create a uniform surface, enhance paint adhesion, and improve coverage. Primer is especially beneficial when transitioning from a dark colour to a lighter one or when painting over surfaces with stains or marks.
7. Protect Trim and Floors: Masking and Drop Cloths
Before you open that paint can, take the time to protect surfaces you don't want to be painted. Use painter's tape to mask off trim, windows, and other edges. Lay drop cloths on the floor to catch any accidental drips or spills. This extra effort will save you time and frustration during the cleanup phase.
--
Properly preparing your walls for painting is the foundation of a successful and visually pleasing home improvement project. By taking the time to repair imperfections, clean, sand, and prime, you ensure that your paint job not only looks fantastic but also lasts longer. Follow these steps, and you'll be well on your way to creating a fresh and inviting space with a beautifully painted finish.
About the Author